Assembly Instructions
Putting together your frame is simple and quick. Just follow these steps:
Step 1 - Assembly Hardware
You will find one assembly hardware bag in each box. Therefore, for each frame, you should have two bags of assembly hardware in total.

Step 2 - Prepare the Surface
Unpack all frame parts and work on a soft surface like a towel or blanket to avoid scratches.
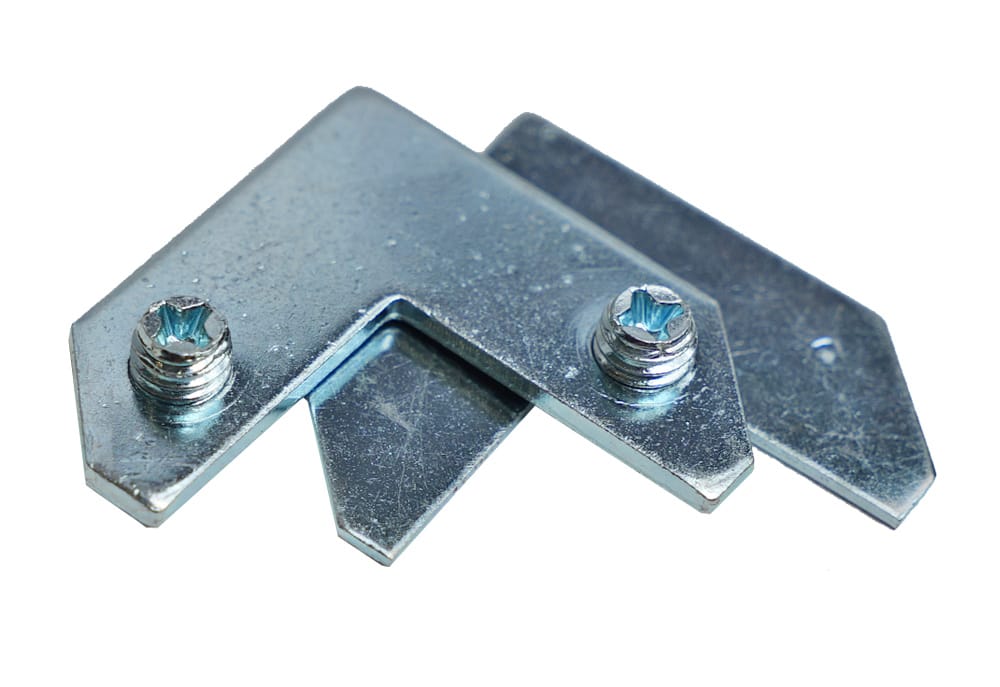
Step 3 - Assemble Corner Brackets
Stack a corner bracket with screws on top of one without.
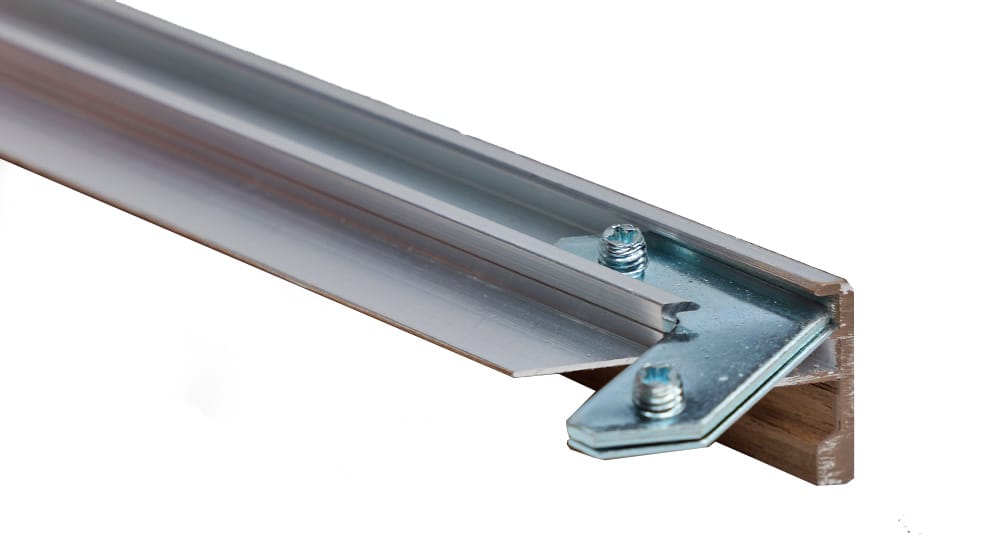
Step 4 - Attach First Corner
Insert the assembled corner bracket into one side of the frame.
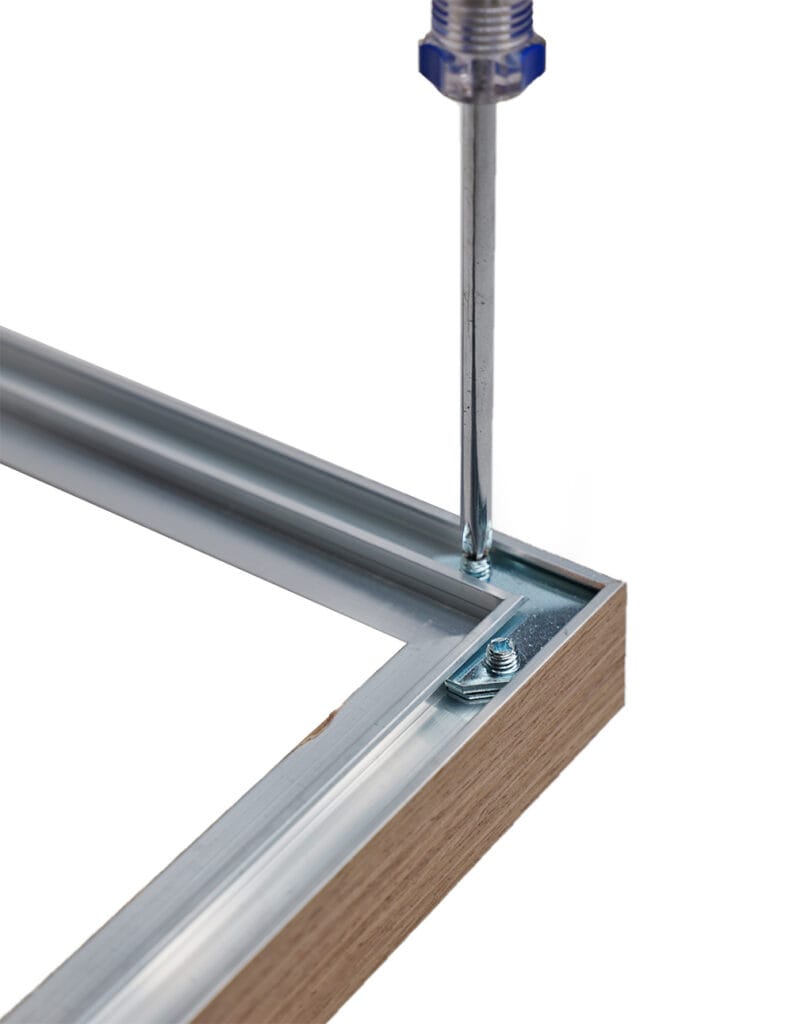
Step 5 - Tighten Brackets
Insert the second side of the frame. Hold the corner firmly and align the edges. Use a screwdriver to tighten both screws on the corner bracket. For best results, use a screwdriver rather than a drill throughout the assembly process.
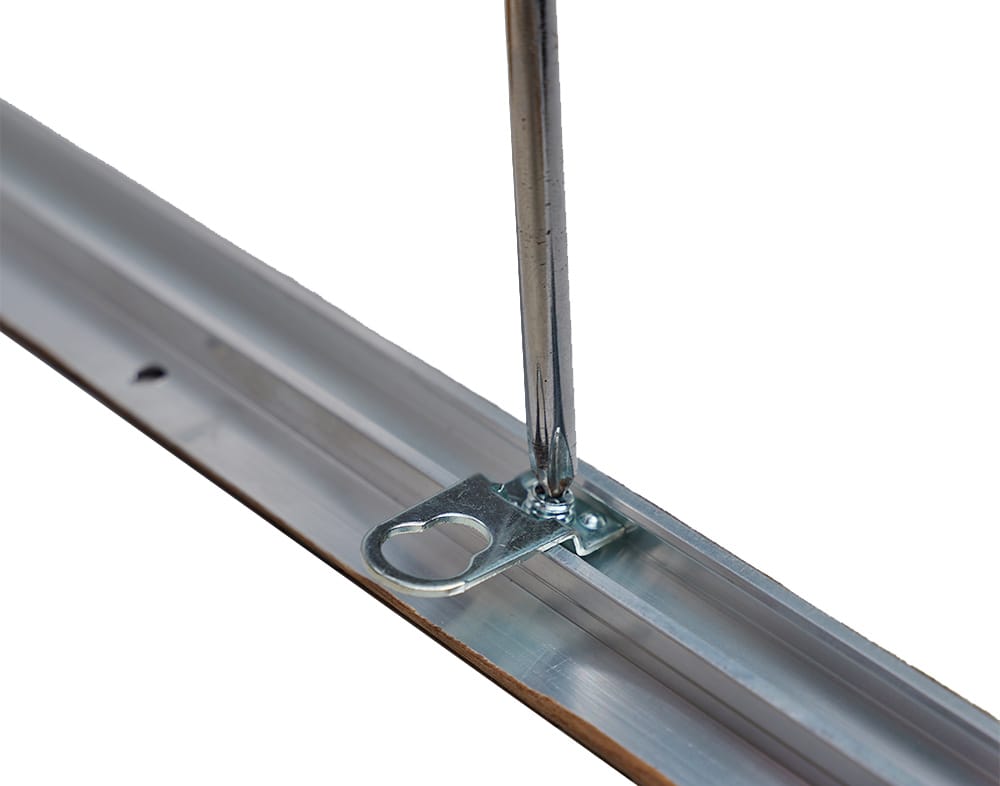
Step 6 - Install First Hanger
Slide a hanger into the side that will hang vertically. Position it about 5 inches from the top and tighten with a screwdriver.
Step 7 - Complete Frame
Repeat Steps 4–6 with the other frame side (don’t forget the second hanger!). Then, join both halves using the remaining 2 corner brackets.
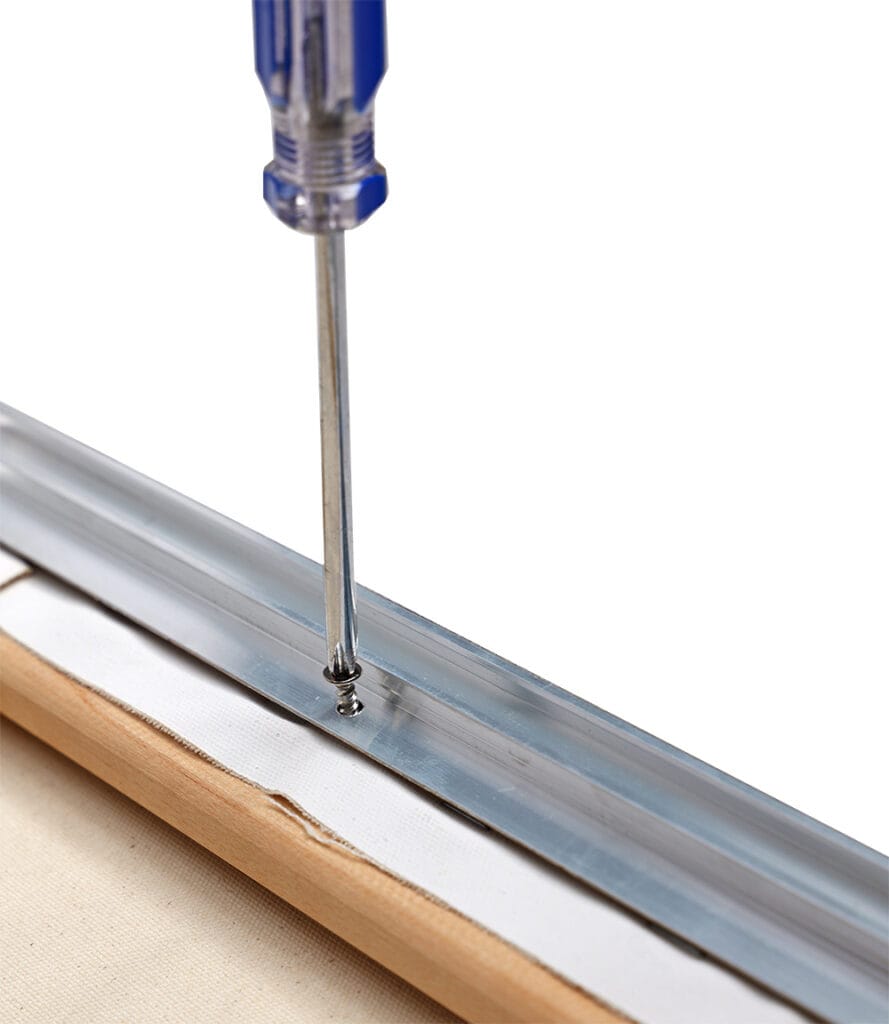
Step 8 - Attach the Canvas
Place the canvas face down into the frame. Secure it with screws through the holes. Then, thread the hanging wire from one hanger to the other and tie knots to hold it in place.
Your frame is now ready to be hung on the wall. Congrats!
Need help? Contact us.